Rock Star
Assembly Instructions
This design is available Here at SVG HUT

I have laid the part out to try and make it more easy to see what goes where.
I have colour coded each part that all go together
For example the base drum parts are all red the High hat cymbal is blue and the low cymbal is green etc
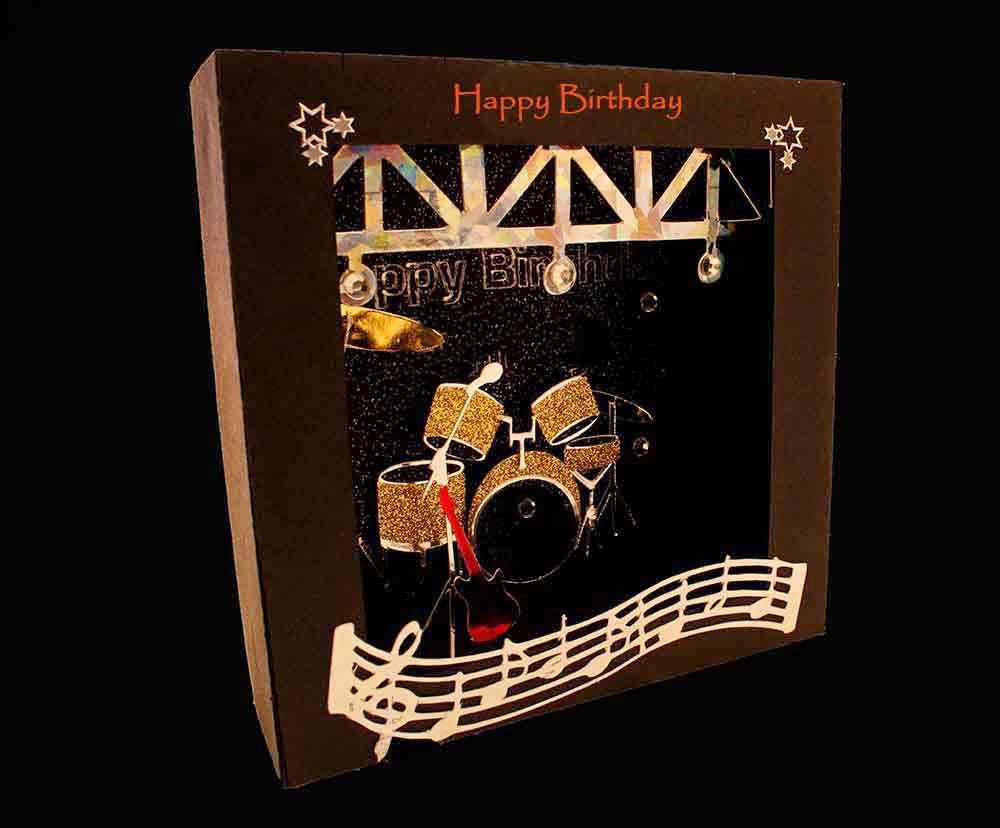
Use the image as a reference to assemble as it's very difficult to explain everything.
The drum main part ore the odd shape, then the small ovals go at the bottom which in the image is the black part and the oblong with the curvy bits are the glittery part, cut the main parts our of mirri board so that you have the look of metal once you've put the other bits over that. Take a look and the image and it should make sense, this is more or less the same for all the drums
I have also positioned them on the mat as close to their places as possible. the little t bar piece is to sit on top of the base drum and the 2 side drums attach to the top t section - one each side. with a slight tilt as you see on the mat and in the image
Cut the cymbal stands, microphone and cymbals out of mirri board and also the guitar this give the metal effect that makes this card stand out.
The microphone and guitar attach to the oblong layer with the 2 lumps on them and the drum kit attaches to the plain oblong layer

Horrible explanation…. Sorry I bought this
ReplyDelete