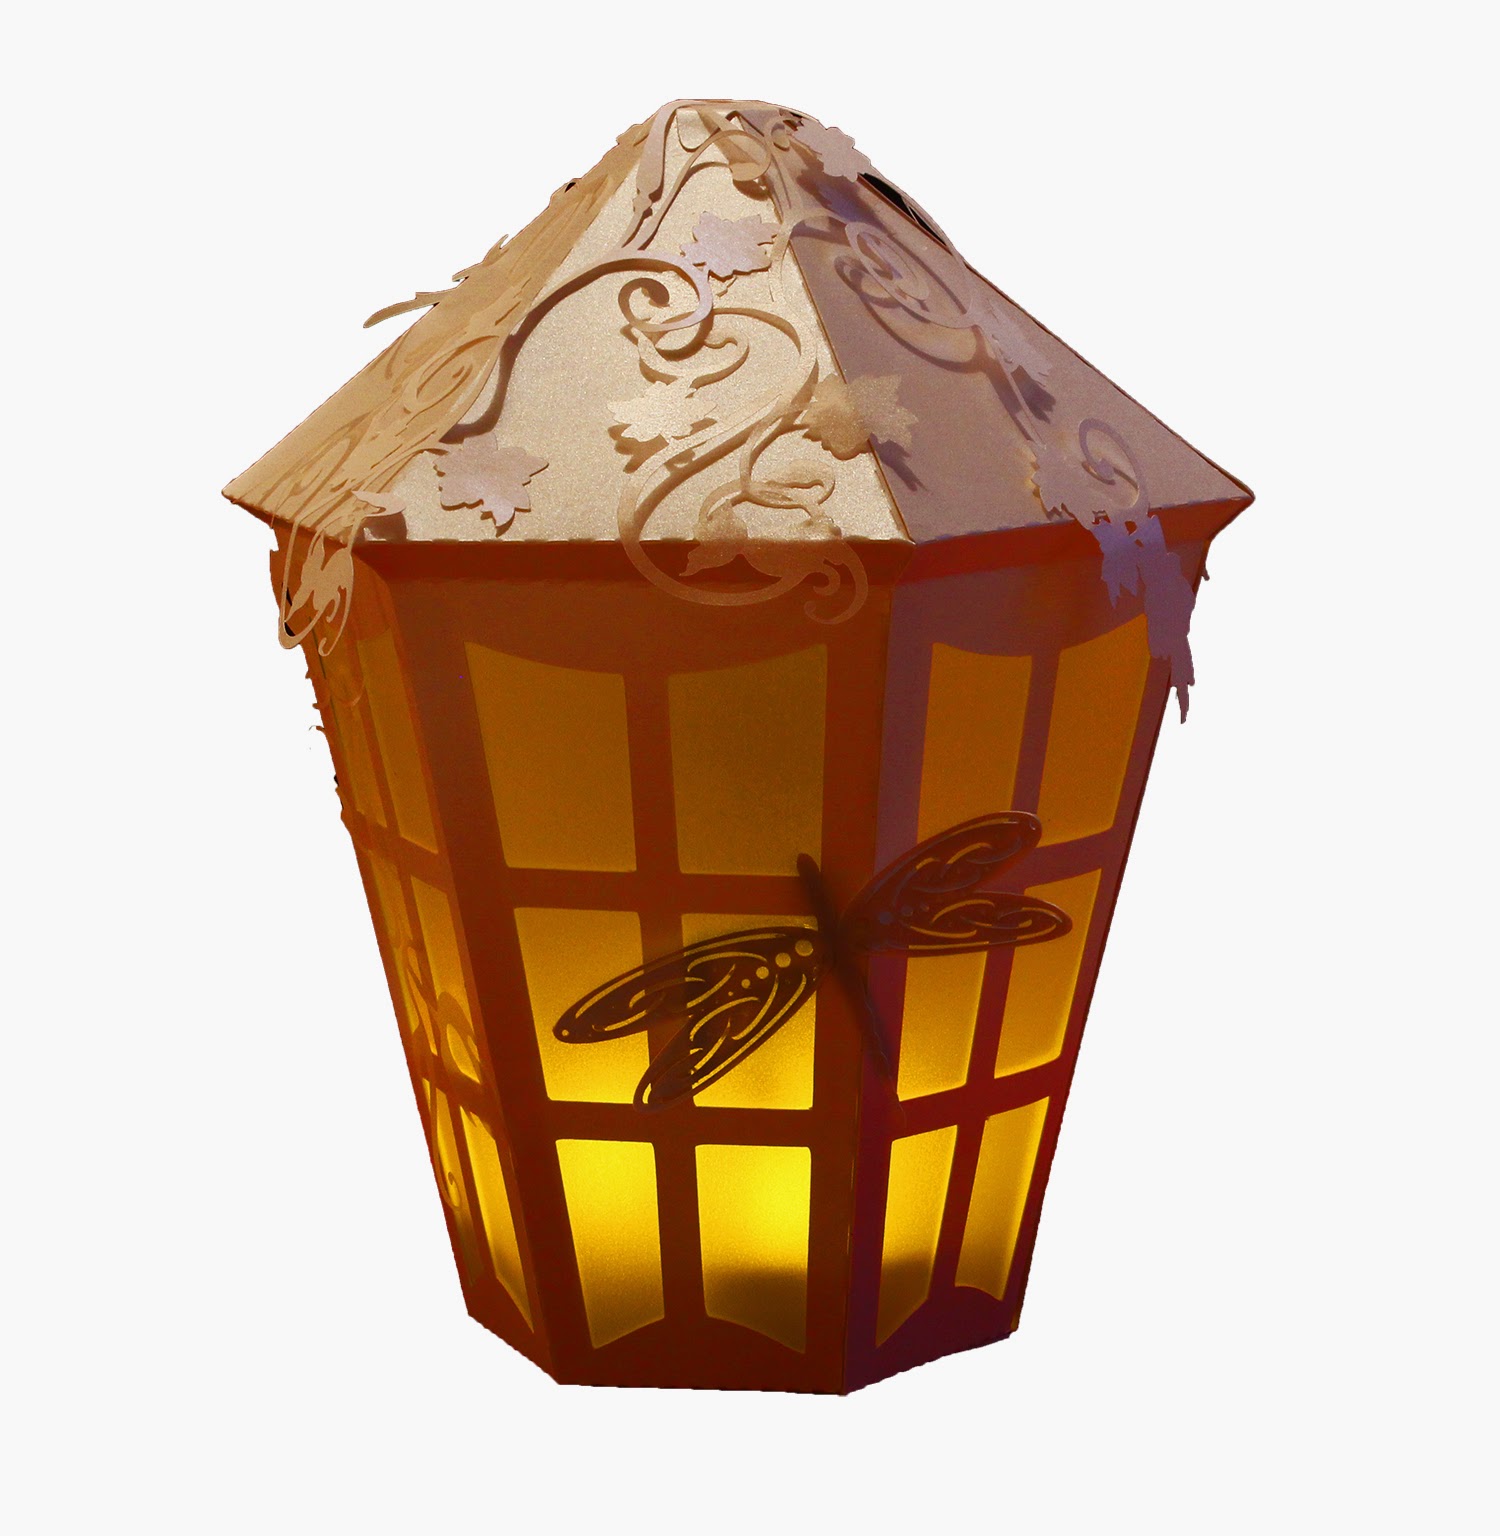
Dragonfly lantern
Cut all the pieces not forgetting the vellum pieces for the windows
First of all glue the vellum onto the windows (what will be the inside)
The lantern sides and roof are all one piece so you will need to put some folds in to make them all go together neatly.
The fold the first crease line towards you so you're folding the part above the crease towards you, then the next crease fold away from you this is the roof section of this part. fold them all the same. Either glue or tape all the tabs along the side of these pieces. now start attaching each section together, start with the roof, you will see where it folds back in itself there it a tiny tab (you should have glue or tape in this too) make sure this attaches across to the other part neatly, this will give a good neat roof section. now attach the window sides together, you will already have glue or tape on these tabs. do 3 window sections together, and the other 3 keep the tealight hole in the middle and 2 windows either side of it.
Now you have 2 parts of the lantern, you can now put them together,
The little flower type piece is for the top if the roof to hide the hole, just fold the 'petals' downwards and then glue it to the top of the lantern.
Now the base can go on, fold the tabs inwards on the bottom of the lantern dab on some glue or tape and place the base on keeping it all inline.
Now add your decorations, the vines and dragonfly, place them anywhere you like :)


No comments:
Post a Comment